
If there’s one workflow insurers can’t afford to get wrong, it’s First Notice of Loss (FNOL). It’s the moment of truth: a policyholder needs help, fast. But too often FNOL still runs on static PDFs, generic web forms, and call-center triage that creates more back-and-forth than resolution.
Good news: you can turn FNOL into a guided, digital journey in days, not months, using AI, conditional logic, and real-time validations. Below is a practical, step-by-step playbook to build FNOL the right way with EasySend.
What “good” FNOL looks like (and why AI matters)
A modern FNOL flow should:
- Guide the policyholder step-by-step with plain language and only the fields they actually need.
- Validate in real time (policy number, contact data, date/time sanity checks, required uploads).
- Branch dynamically by loss type (auto, property, liability, injury).
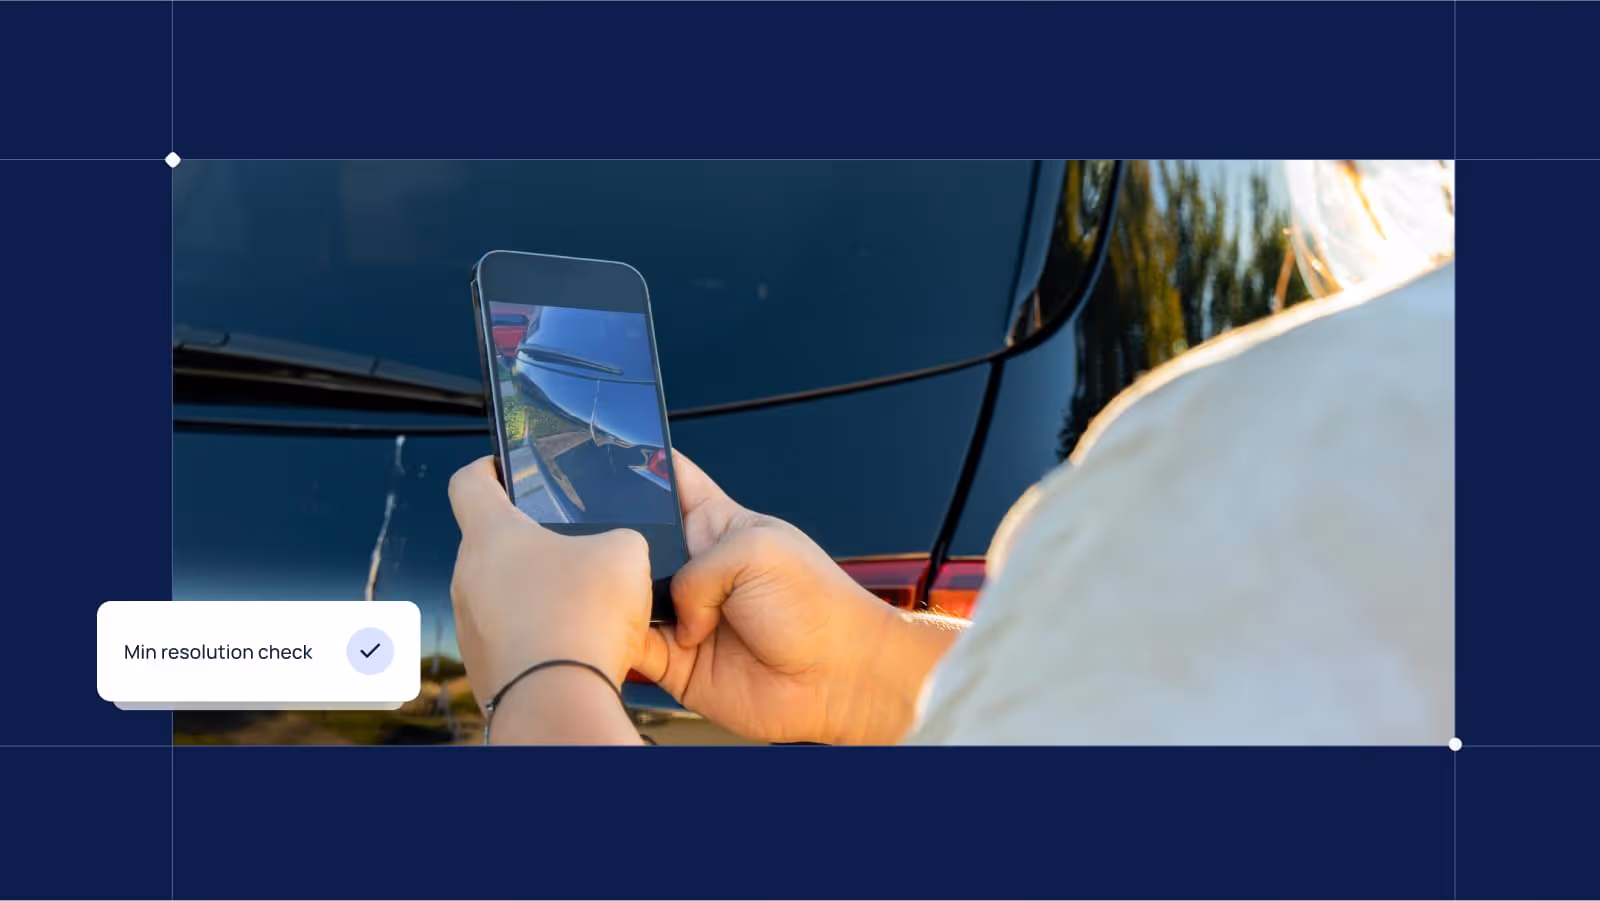
- Collect evidence elegantly (photos, videos, receipts) with size/type checks and duplicate detection.
- Hand off seamlessly to the claims system, CRM, and downstream teams
- Accommodate multi-party collaboration (policyholder, agent, adjuster) — including “Sign Together” sessions when somebody needs live help.
- Work everywhere: mobile, desktop, email link, SMS, or a QR at the repair shop.
AI accelerates all of this by:
- Converting existing PDFs into digital journeys.
- Turning a plain-language description of your FNOL into a draft flow (steps, fields, logic).
- Suggesting best-practice branching and validations by claim type.
The step-by-step build (EasySend)
Step 1 — Map the real FNOL journey (30–60 min)
Get the right people in a room (claims ops, compliance, CX). Outline the actual path:
- Identify policyholder → 2) Capture incident basics → 3) Classify the loss → 4) Gather evidence → 5) Confirm coverages/disclosures → 6) Sign/submit → 7) Create claim + notify adjuster.
Pro tip: Circle steps that change by loss type. Those are your conditional branches.
Step 2 — Start from what you have (10 min)
Drag in your existing FNOL PDF(s) or a field list. With AI PDF Converter, EasySend auto-extracts fields and groups them into steps. You’ll get a first draft in minutes — not a blank canvas.
Step 3 — Describe your ideal flow (2–5 min)
In AI Journey Builder, drop a prompt like:
“Create a 5-step FNOL flow. Step 1: policyholder details (prefilled from CRM). Step 2: incident basics (date/time, location, description) with sanity checks. Step 3: loss type selector branching to auto/property/liability. Step 4: uploads (photos, video, receipts) with file type/size rules. Step 5: consent + eSignature. Map policy number to Salesforce Policy object and create a Claim record on submit.”
AI generates the steps, fields, and starter logic automatically.
Step 4 — Add smart branching by loss type (15–30 min)
Use EasySend’s conditional logic to show only what’s relevant:
- Auto: Vehicle details (VIN, plate), drivable toggle, police report #, third-party info.
- Property: Address autocomplete, affected rooms/areas, mitigation steps taken.
- Liability/Injury: Parties involved, injury type, medical attention received.
Validation patterns to add now
- Date/time sanity: Incident can’t be in the future; if > X days ago, require reason.
- Phone/email format checks.
- Policy number check (length/pattern or lookup).
- Address validation (autocomplete + geocode).
- VIN/plate format (for auto).
Step 5 — Design the uploads experience (20–40 min)
Uploads are where FNOL flows win or lose. Make it frictionless:
What to collect (branch-aware)
- Photos/videos of damage (auto/property)
- Dashcam/doorcam footage (optional)
- Receipts/estimates (PDF/JPG/PNG)
Police report (if applicable)
Set guardrails
- Allowed types: JPG, PNG, HEIC, MP4, PDF
- Max size per file: e.g., 100 MB video, 20 MB images/PDF
- Max total uploads: e.g., 20 files
- Auto-compression on mobile videos to avoid timeouts
- Duplicate detection (hashing) to catch re-uploads
- Optional EXIF checks: flag if photos post-dated the incident
Quality prompts
- “Take wide shot, then close-ups of damage from two angles.”
- “Include a photo that shows the license plate.”
UI niceties
- Progress bar, thumbnail previews, retry on flaky connections, background upload queue.
Step 6 — Prefill and verify (10–20 min)
Use prefill from CRM/policy admin to reduce typing and errors:
- Policyholder name, contact data, policy #, vehicle/property on file.
On blur, run soft checks:
- If policy not active at incident date → show a friendly heads-up and continue (don’t dead-end).
- If address outside covered region → branch to “needs review” messaging.
Step 7 — Real-time validations (15–30 min)
Bake validations into each step so errors are caught early:
Field validations
- Requiredness toggles: if “Injury = Yes” → require injury subtype + care received.
- Pattern checks: email, phone, VIN.
- Ranged values: incident date within policy period.
Upload validations
- Enforce file type/size on client side.
- Count remaining files: “You can add 3 more.”
Cross-field logic
- If “Vehicle drivable = No” → show roadside assistance card.
If “Police report filed = Yes” → require report number and upload.
Step 8 — Consent, disclosures, and eSignature (10–20 min)
Add jurisdiction-specific disclosures with conditional content (state/province logic). Include:
- Privacy + data use consent
- Subrogation/false statement warnings
- eSignature: serial flow for policyholder → co-owner (if any); allow Sign Together if an agent is assisting live.
Step 9 — Systems integration (30–60 min)
On submit:
- Create Claim in your core system (or a staging object if you review first).
- Attach uploads to the claim record (preserve file names + metadata).
- Map to Salesforce (Policy → Claim → Activities). Use EasySend’s native mapping UI; no custom code needed for common objects.
- Webhooks/Events: notify the adjuster queue; post to a Teams/Slack channel.
Pro tip: Stamp the journey session ID onto all downstream records for easy traceability.
Step 10 — Notifications and next-best actions (10–20 min)
- Policyholder confirmation (email/SMS): claim #, what happens next, how to add more evidence later.
- Adjuster alert: summary card with top fields and first photos inline.
Self-service portal link to track status or upload additional files.
Step 11 — QA, UAT, and go-live (1–3 days)
Run a short, sharp test plan:
Happy path for each loss type
Edge cases: missing uploads, large files on 3G, wrong policy #, time zone quirks
Accessibility: WCAG checks, keyboard navigation, screen reader labels
Localization if you operate in multiple languages/regions
When ready, deploy omnichannel: web, mobile link via SMS, QR in welcome kits, and agent-assisted flows for customers who want live help.
What the FNOL data model looks like (starter map)
- Policy (prefilled reference)
- Claim (new): claim_type, incident_datetime, location (lat/long/address), narrative, injury_flag, police_report_flag, drivable_flag
- Parties (repeatable): role, name, contact, driver’s license/ID
- Assets (repeatable): vehicle VIN/plate or property ID
- Evidence (files): type, filename, size, hash, EXIF_datetime (if present)
- Audit: consent_version, eSign timestamp, session_id, originating_channel
Map these to Salesforce (or your admin system) once and reuse across lines of business.
“Before vs. after” snapshot
(Your mileage may vary based on lines of business and integrations.)
Common pitfalls (and how to avoid them)
- Over-collecting on step 1: Keep page one to identity + incident basics. Branch later.
- Blocking flows on strict validations: Use soft warnings; never strand the customer. Route to review if needed.
- Ignoring mobile video realities: Add compression and background upload. Show a live progress meter.
- One-size-fits-all disclosures: Use conditional text by jurisdiction and claim type.
- Treating uploads like a black box: Store file metadata (type, size, hash) and maintain the linkage to the claim for audit.
Security, privacy, and compliance checklist
- SOC 2, ISO 27001 controls in place (EasySend certified)
- PII minimization: collect only what’s required per branch
- Transit + at rest encryption of files and data
- Data retention policy for evidence uploads
- Access controls: adjuster/agent roles; least privilege
- WCAG accessibility for all public steps
- Consent versioning tied to submission
Advanced moves (when you’re ready)
- Telematics/dashcam ingest: optional link-out for fleets to attach incident snippets.
- AI-assisted triage: prioritize claims using structured fields and photo counts (no PHI/PII inference).
- Repair network routing: if property/auto, offer nearest approved vendor after submit.
- In-journey help: embed a lightweight chat or schedule-a-call card in the flow.
- A/B step ordering: test whether uploads before narrative reduces drop-off.
Why insurers choose EasySend for FNOL
- AI Journey Builder: go from prompt or PDF to a working FNOL flow in minutes.
- Conditional logic + validations: branch by loss type; enforce clean data.
- Uploads done right: file rules, compression, duplicate detection, metadata.
- Multi-party & “Sign Together”: guide policyholders live when needed.
- Native Salesforce & core integrations: one place to map fields and attachments.
- Enterprise-grade: SOC2, ISO 27001, GDPR, HIPAA; WCAG-aware components.
- Omnichannel: web, SMS link, email, QR — plus agent-assisted mode.
Bottom line: you’re not just digitizing a form — you’re deploying a dynamic customer interaction layer that plugs into your claims engine and actually reduces time-to-resolution.
FAQ
How do I build a digital FNOL with uploads and validation?
Use an AI-enabled platform (EasySend) to convert your existing FNOL PDF or describe the flow in natural language. Add conditional branches by loss type, real-time field and upload validations, consent + eSignature, and integrate directly with your claims system/CRM.
What file types and sizes should I allow?
Common: JPG, PNG, HEIC, MP4, PDF. Cap images around 20 MB, videos up to ~100 MB, enable compression on mobile, and limit total files to a sensible number (e.g., 20).
How do I keep customers from abandoning?
Short steps, clear instructions, early prefill, soft warnings (not hard blocks), and a visible progress bar. Offer agent-assisted “Sign Together” for customers who need help.
Can I prefill policyholder data?
Yes. Pull name, contact, policy #, and covered assets from your CRM/policy admin to reduce typing and errors.
How do I handle jurisdiction-specific language?
Use conditional text blocks keyed to state/province and claim type. Version and log consent at submit.
Where do uploads live?
Attach them to the claim record with preserved filenames and metadata (size, type, hash, optional EXIF). Follow your retention policy.
Ready to turn FNOL into a guided, zero-guesswork experience?
With EasySend, most teams ship a production-ready FNOL in days , complete with uploads, validations, signatures, and integrations.
Want a tailored walkthrough? We can take your current PDF and turn it into a working prototype live.
FAQ
Forget forms. Create digital customer journeys.


